How To Customize Your Carry

Photo: Rick Vanderleek
Have you ever noticed our packs favor large, open main compartments over divided ones with many pockets? We do that for a reason. Well okay, several reasons, and none of them include making it harder for you to find your smaller gear.
In fact, we love organization just as much as anyone else. Maybe even more. We just believe that your organization system shouldn’t be pre-determined by us, and it shouldn’t get in the way of your pack’s ability to fit larger items like climbing rope or your puffy.
And that’s the number one reason why you should customize your carry: because we designed it to be customized. Your pack isn’t optimized until your camera is safely protected, your hand sanitizer and mask are right where you need them to be, or your cables and cords are untangled from one another. Here’s how to make that happen.
Step 1: Organize the inside.
Are you a photographer? Day hiker? Artist? Angler? Student? Business professional? Frequent traveler? Perfect. We made these for you.

Accessory Bags
Use our Accessory Bags to give your smaller gear a home. They come in three sizes so you can really tailor them to your purpose.
- Outdoor enthusiasts will find the Micro size perfect for a durable, unfussy wallet with the added benefit of being able to zip closed. The Small size works great for a first aid kit or camp kitchen utensils, and the Medium size for your outdoor coffee set up or fly box, nippers, and floatant.
- Artists and designers will love the Micro size for erasers, the Small size for carrying a set of art pens and pencils, and the Medium size for more dimensional items like pencil sharpeners, a travel watercolor set, or a small sketchbook.
- Business professionals will find the Micro the perfect size for business cards (remember those?), the Small for writing utensils, and the Medium for your backup power supply.
- Travelers can use the Micro size for earbuds/ ear plugs, the Small size for... oh, you see where we’re going with this? We’ll stop here and let your imagination do the rest.
That’s the magic of minimally designed gear. It’s a blank canvas for whatever you need it to be. (Not for nothing, but it’s also more durable and sustainable this way, too.)

Tech Case
Our favorite product for lovers of the oddly satisfying. Use it alongside Accessory Bags or as an alternative. You’ll have the perfect spot for your over-ear headphones, iPad mini, stylus, mouse, all your chargers and cords, and anything else you can think of. Because it carries everything in one zippered package, the Tech Case really shines when you frequently switch packs. No more forgetting your earbuds in your other bag.

Camera Cube
Based on our daily conversations with photographers, we’re guessing you’re here because most camera backpacks don’t offer the same pop of color in the stark, beautiful landscapes you’re roaming around. And they’re not ideal for the many other uses you have for your backpack besides making photographs.
That’s why we made the Camera Cube. The Camera Cube is a small, heavily padded rectangular design that fits perfectly in the bottom of the majority of our backpack line up. It has two handles on top for pulling it out with ease, a shoulder strap so you can wear it cross-body and hands-free once it’s out of your pack, and an adjustable divider for organizing your equipment safely. Everything you need, nothing you don’t for a day when you only need one camera body and lens. (In other words: most days.)
Step 2: Maximize the outside.
Multiple attachment points feature on most of our packs because there are just some things you need to be able to grab without having to take off your pack and open it up.

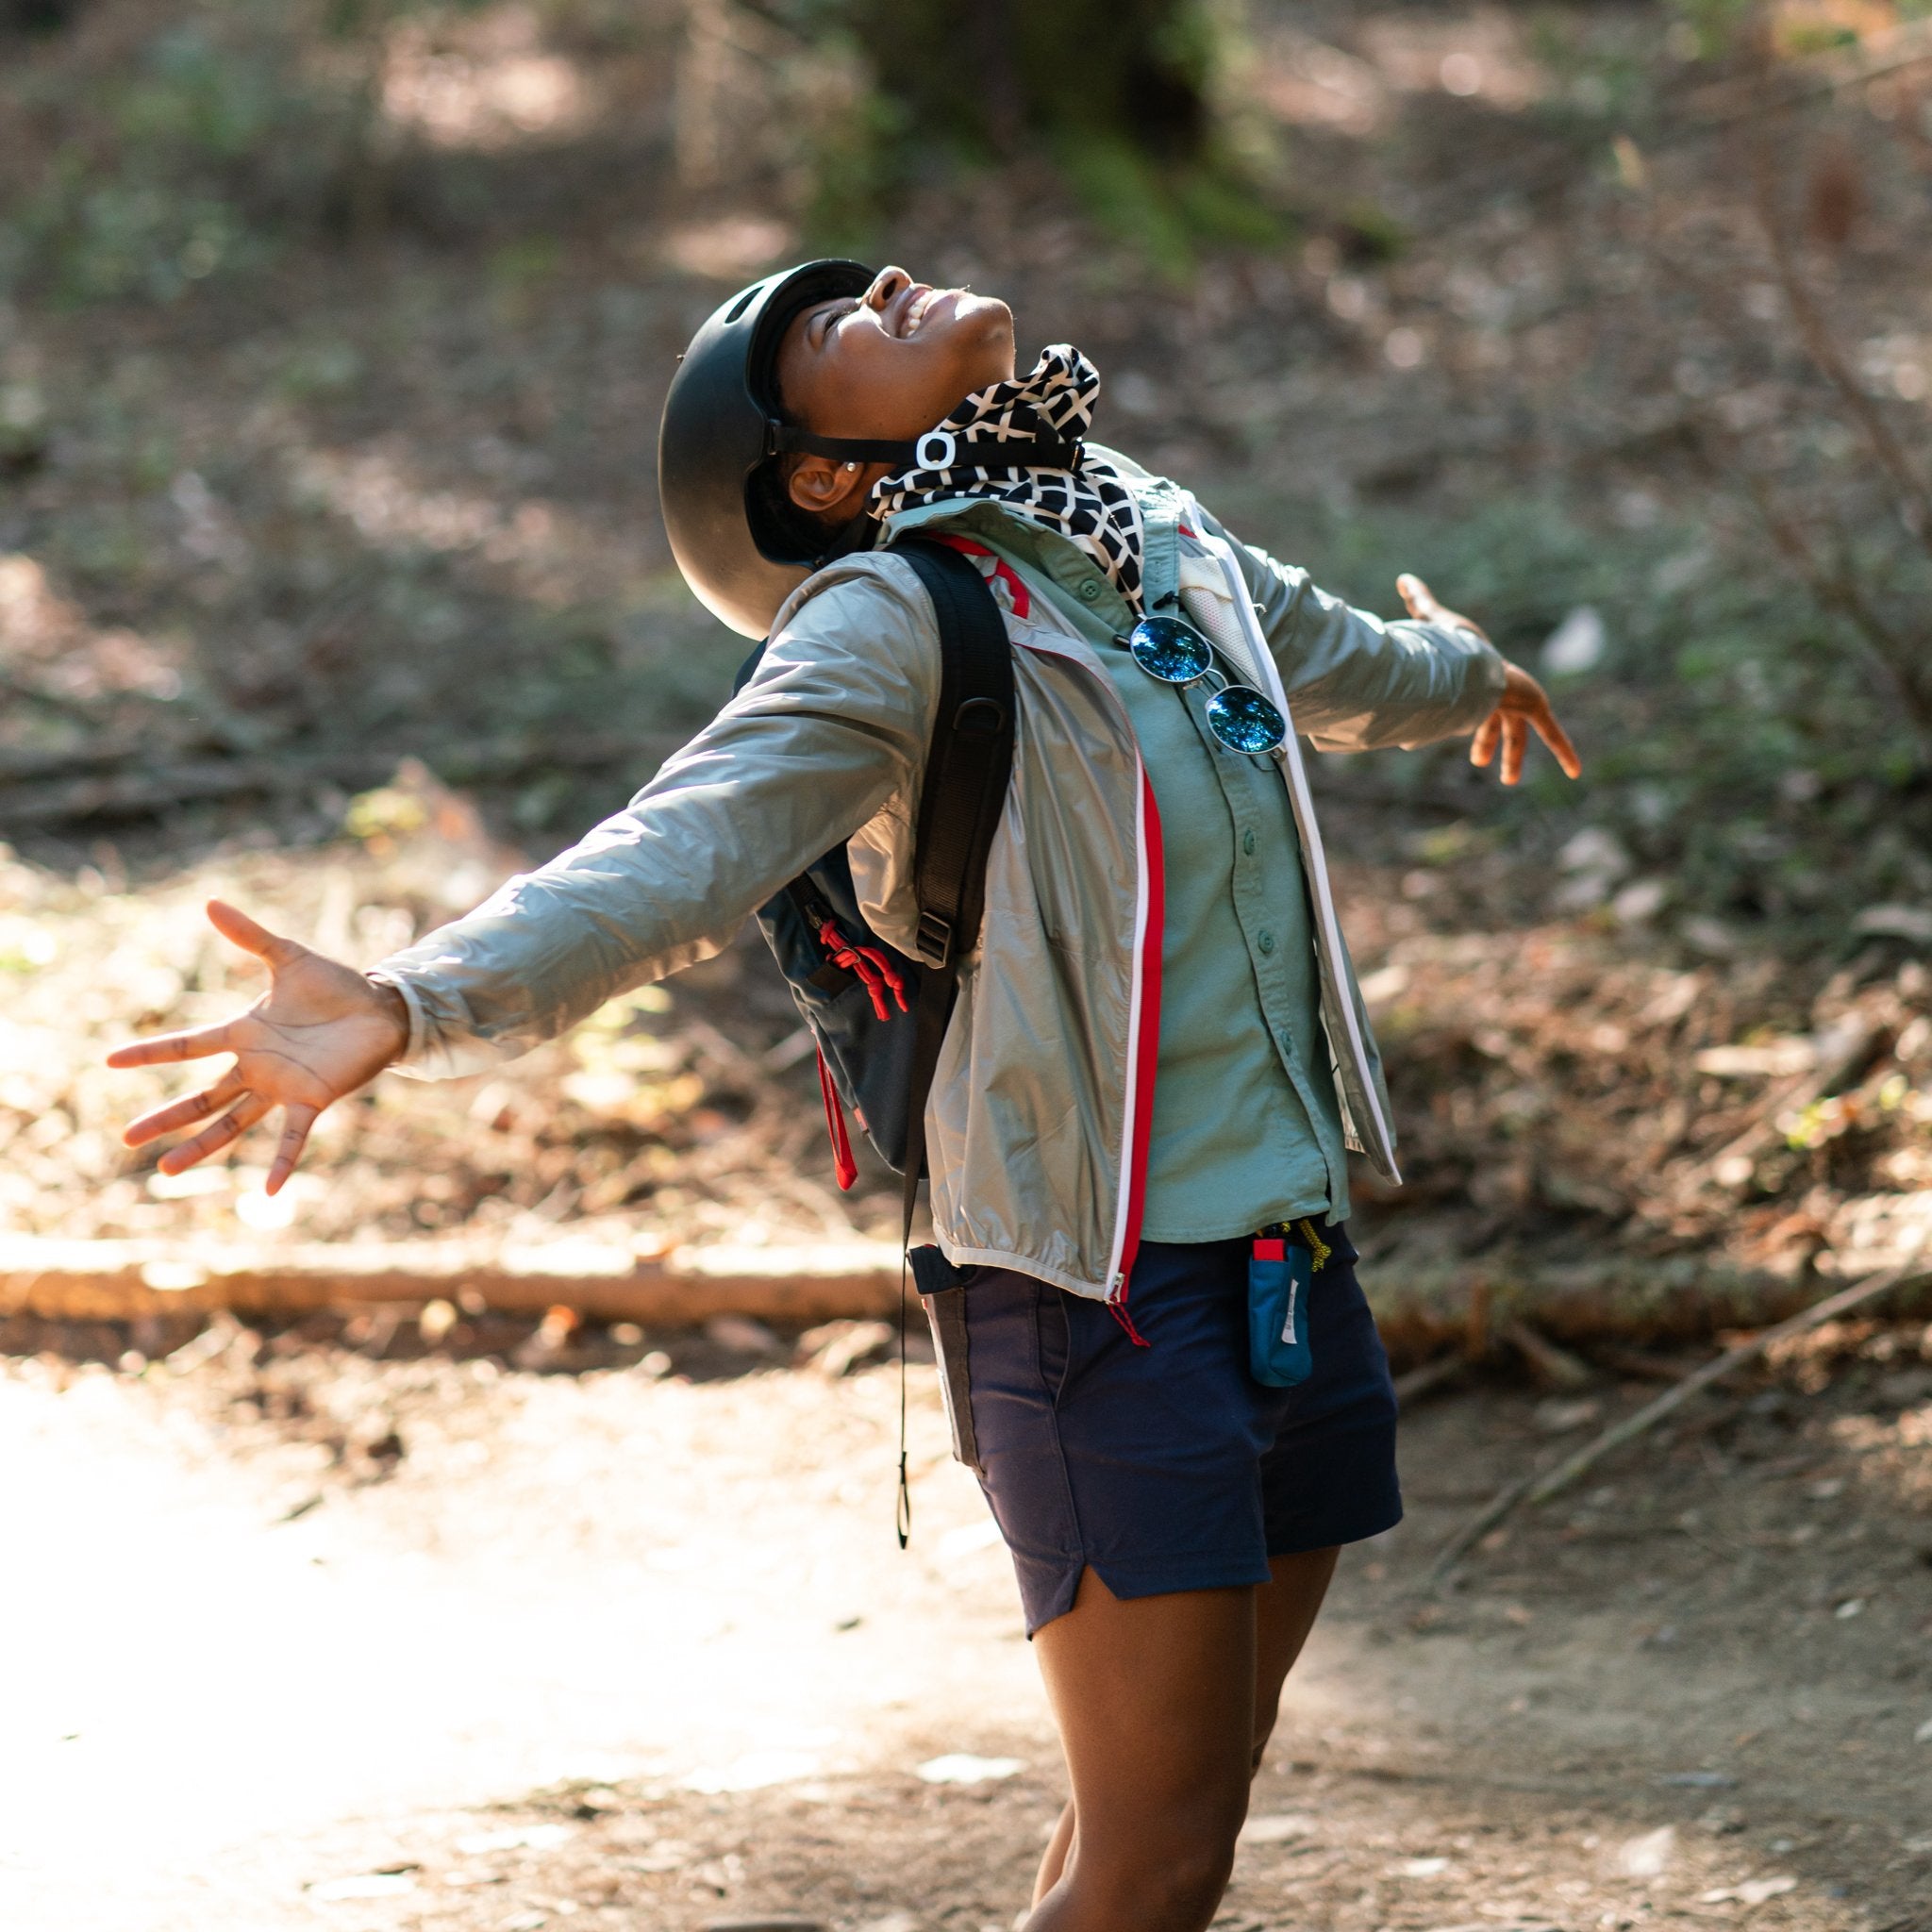
Our Taco Bag and Square Bag come with a clip for attaching to the D-rings or webbing on your backpack straps. These days we’re using them to carry our mask and hand sanitizer, but they’re great for Air Pods, pocket tissues, hair ties, chapstick, mints, etc.

Snag a Key Clip or Subalpine Key Clip for attaching other sundries like keys (naturally), a flashlight, or a pocket knife.
Finally, look for small tabs at the bottom of your pack. Those are there so you have a place to attach a Waist Strap if your pack gets heavy or you’ll be wearing it for extended periods. Supplement with a Sternum Strap for maximum comfort.

Photo: Ashley Lauren Snyder
Step 3: Personalize.
We wouldn’t be Topo Designs if we didn’t advocate for self-expression everywhere. (We referred to your pack as a blank canvas for a reason.) We can think of at least three opportunities for you to make your pack fully yours:
- Zipper pulls: If you knew how easy these were to change out, you might have done it ages ago. Just untie and replace with the paracord of your choice. We sell a few on our site, but there are many more options out there. It’s an easy, inexpensive way to make your lifetime-guaranteed pack feel fresh. (Warning: cinch cords are harder. Tie the new paracord to one end of the old paracord and pull the other end through until the old is out and the new is in.)
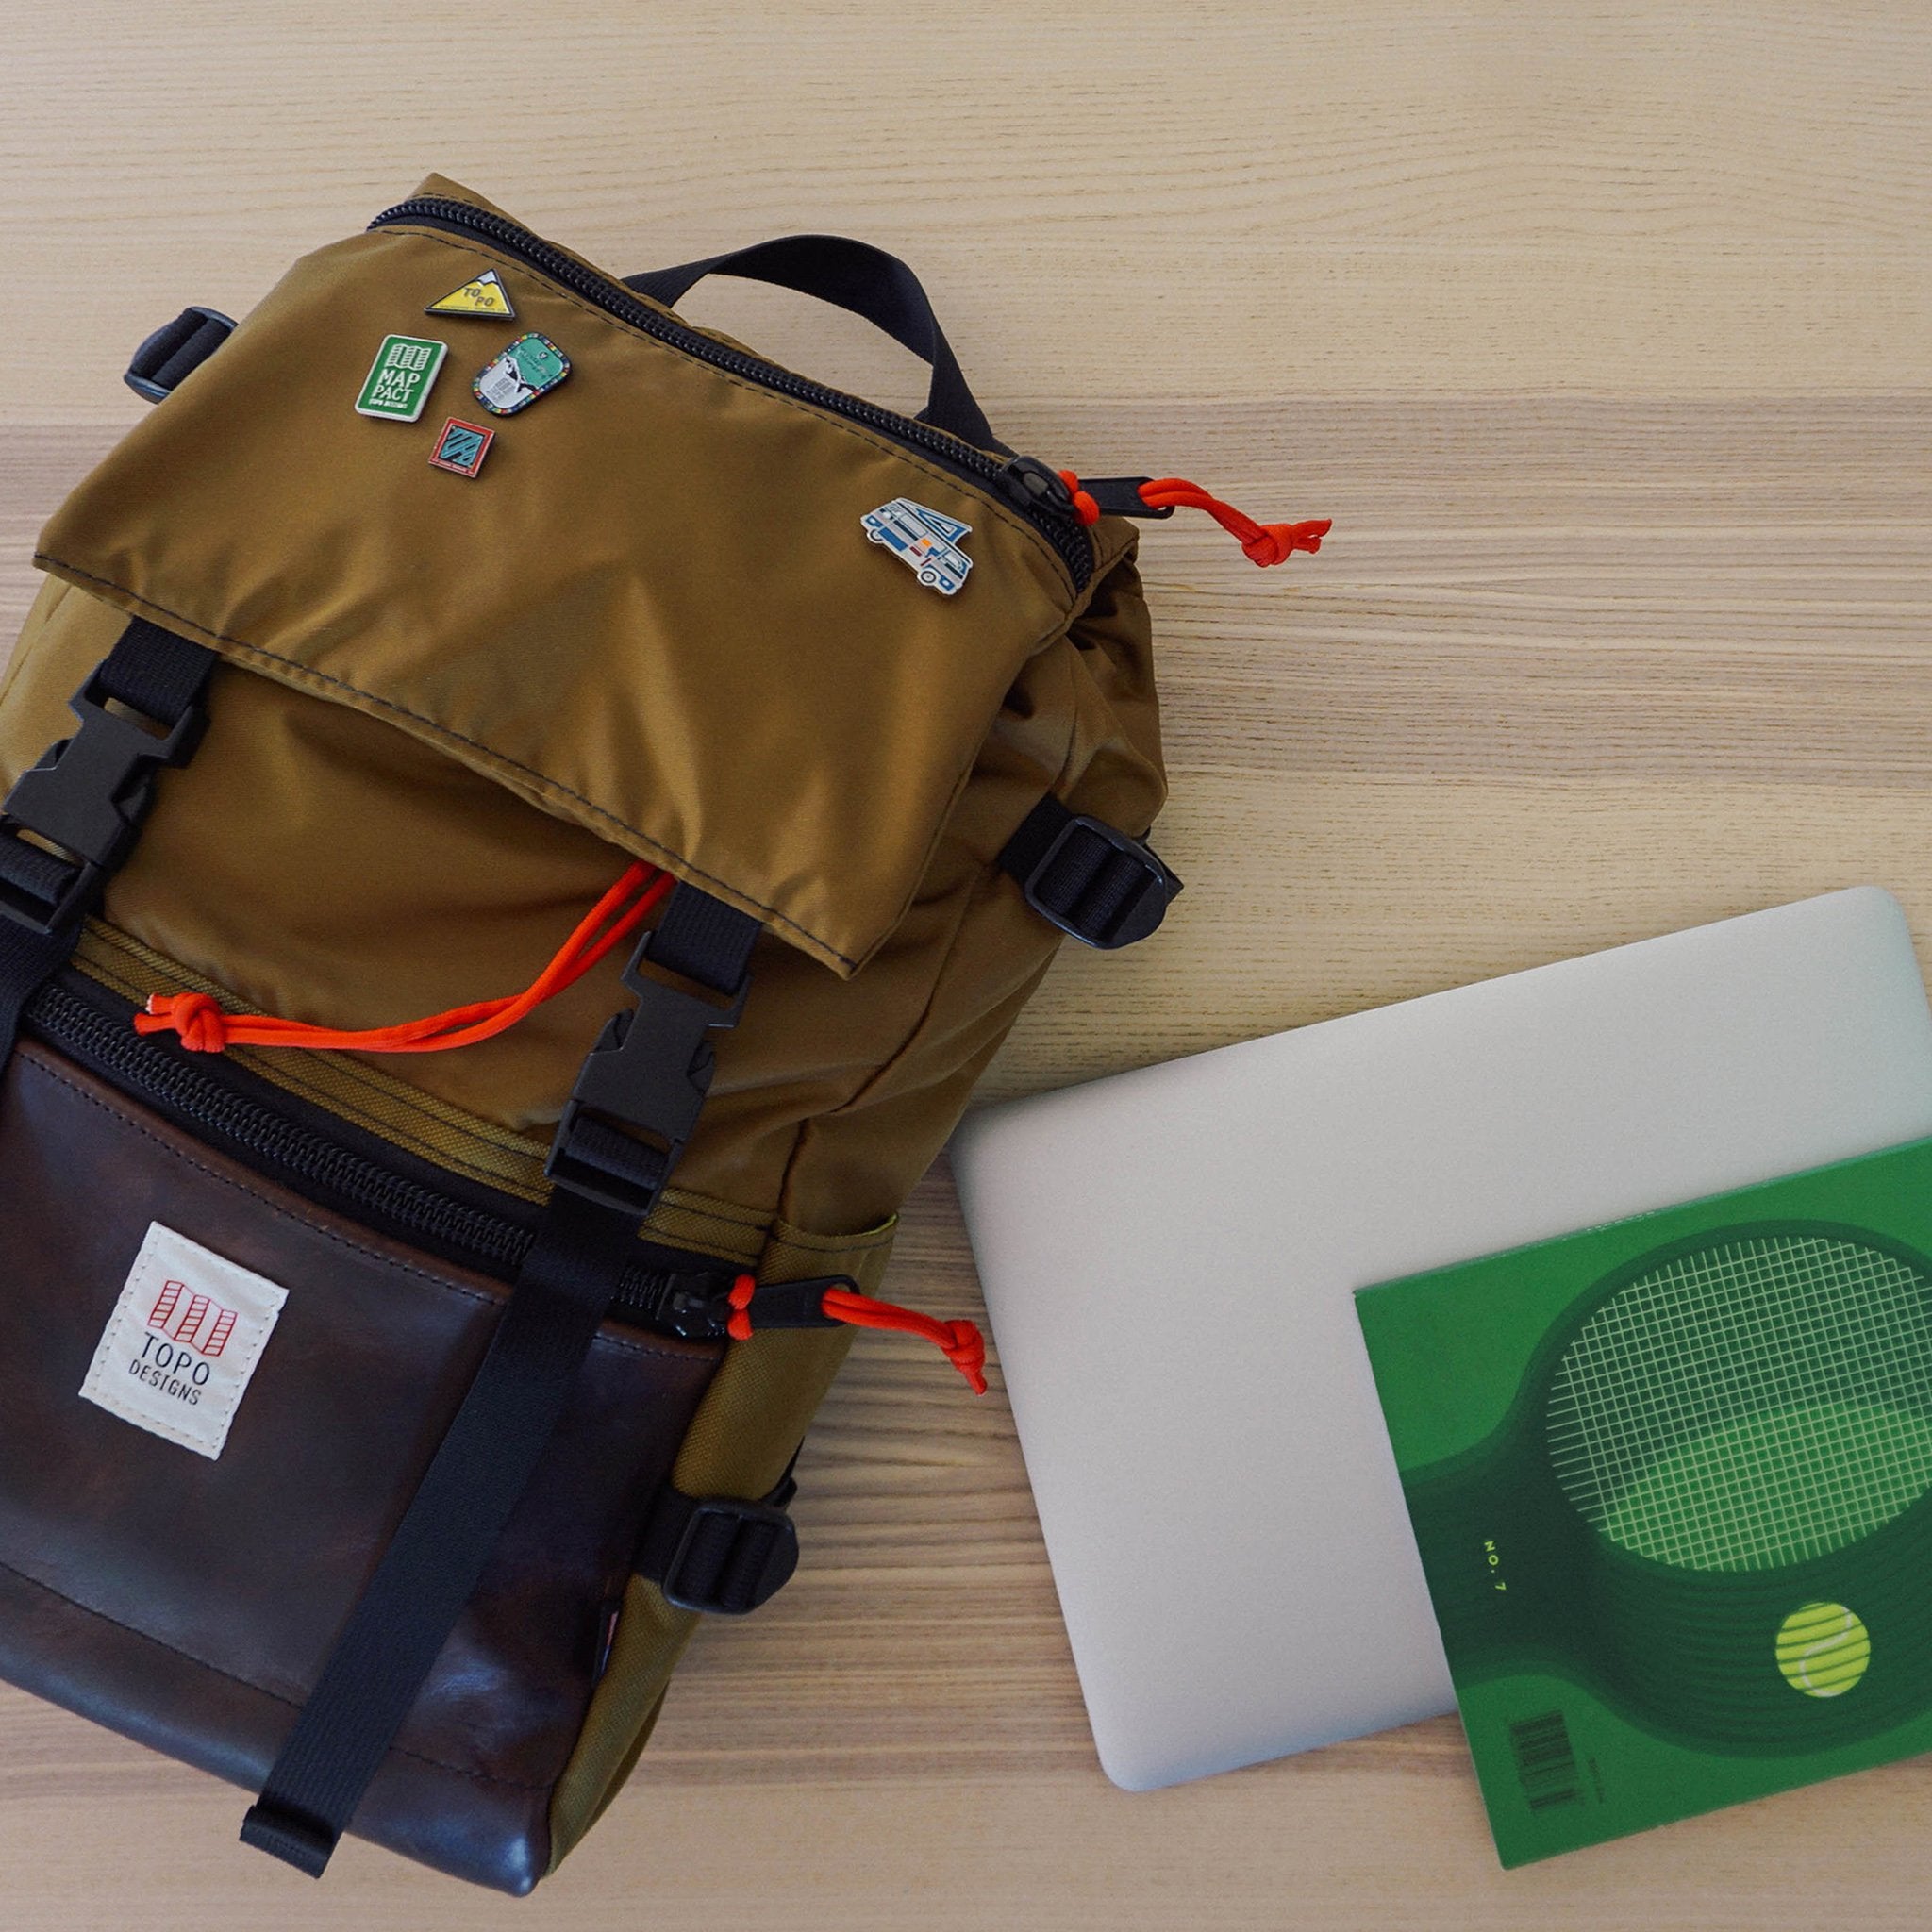
- Patches: Patches are works of art all on their own these days. If you’re not sure how best to attach them to your pack, we’ve got you covered.
- Pins: May we suggest the multi-talented Tim Feighan (aka Monster Rally)’s Valley Cruise Press for some clever, high-quality pins?
Having an organized pack doesn’t always mean having a pack with built-in organization. In our world, it means having a pack with built-in versatility. From one group of outdoor creatives to another, we think you’ll appreciate that we stop designing where it makes sense for you to take over.


